Create Salesforce Chatter Files, Attachments and Documents using Formyoula Form Files
Formyoula Files enables Formyoula Salesforce and non-Salesforce users to submit images and signatures into Salesforce as Chatter files, attachments, and documents. You can choose how files are attached on Salesforce using the Formyoula Salesforce connections. Files can be posted in records, user and group Chatter feeds.
Please follow the steps below to enable Formyoula Files for Salesforce.
Install The Formyoula File Package on Your Salesforce:
To start, please go to your Salesforce organization and install Formyoula File package. The package installation step is required to enable file upload functionality. Please use one of the following links:
Production: https://login.salesforce.com/packaging/installPackage.apexp?p0=04t58000000C7ID
Sandbox: https://test.salesforce.com/packaging/installPackage.apexp?p0=04t58000000C7ID
Create a Formyoula Salesforce Connection to The Formyoula File:
In this part of the guide, we will demonstrate how to create a Formyoula form that allows you to upload a photo attachment to the Notes & Attachments record related list.
1. Please go to your Formyoula Dashboard - “https://app.formyoula.com/dashboard” and click "New Form".

2. Please rename your form, we will use "Formyoula Files to Salesforce".
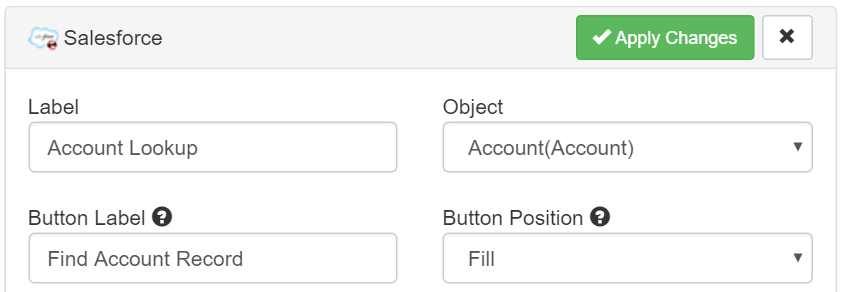
3. Drag and drop a Salesforce lookup field on your form. Click on the “pencil” icon to edit the field. Select an object that the file will be related to. You can relate this to any object in Salesforce.
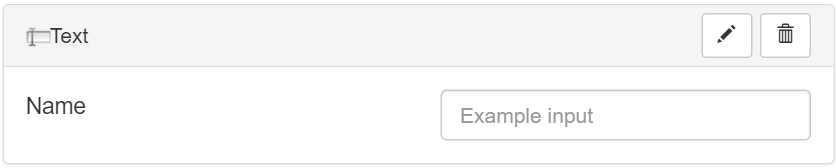
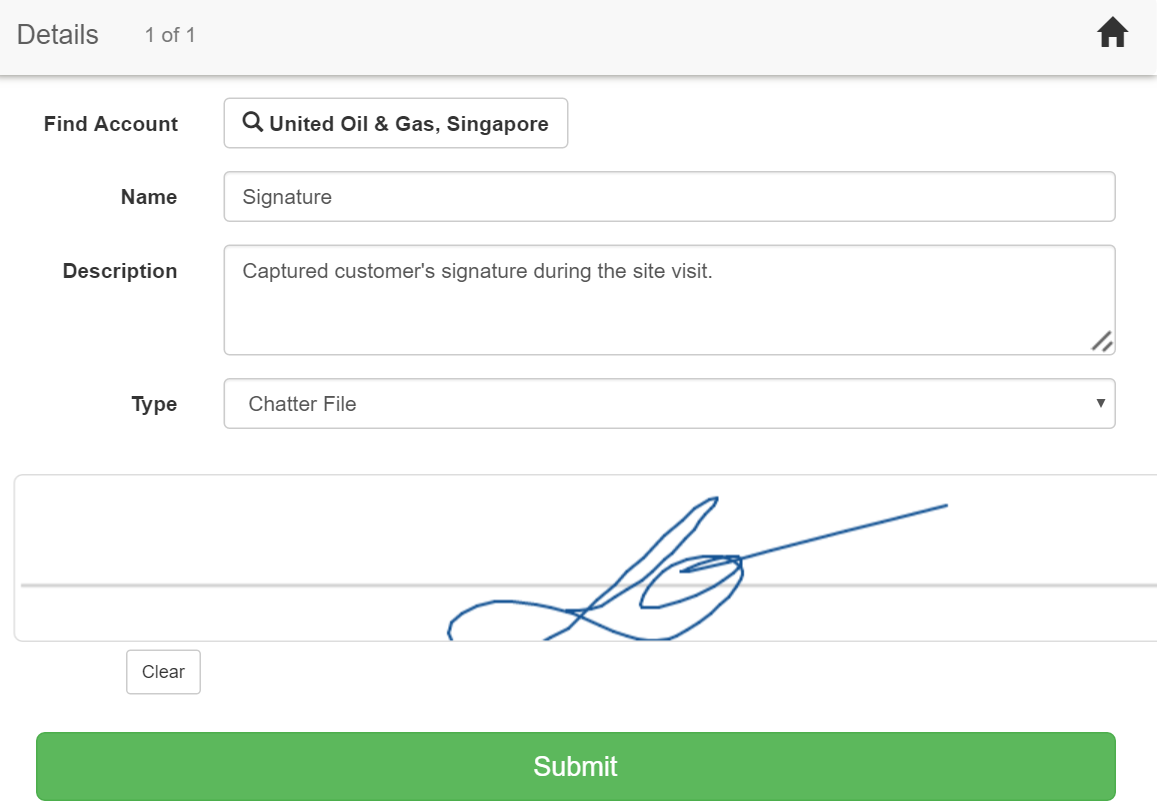
4. Please drag and drop a “Text” field. This will be used for the media file’s name.
5. Please drag and drop a “TextArea” field. This will be used for the media file’s description.

6. Please drag and drop a “Select” field on your form. This will allow you to select what type of file needs to be created: Attachment, Chatter File, File or Document.

[Optional] Or drag and drop a “Hidden” field on your form to automatically specify what type of file needs to be created. Enter one of the following options as the field’s value: Attachment, Chatter File, File or Document.

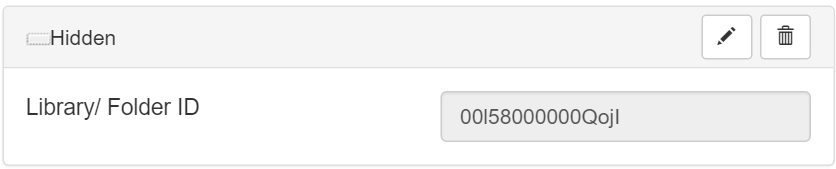
[Optional] Drag and drop a “Hidden” field on your form. This is used for a new Document record creation to specify the library or folder the media file needs to be created in. Copy the ID from the URL link when on the correct Folder’s page and paste it in the hidden field. (Please check if this is a required field on the ContentVersion object).
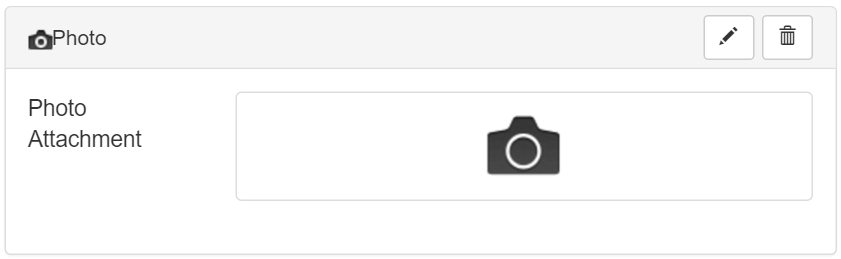
7. Please drag and drop a Photo, Audio, Signature or Sketch field from the “Media” section.
8. When all the fields are added, please click the "Save & Close" button.
9. Next, we will add a Salesforce connection. Please click on “(Add)” under the “Connections” column or click on the “Create a Connection” button, or select “Add/Edit Connections” from the “Actions” available list.

10. Select “Salesforce” from the available connections list and click “Create Connection >>”.
11. Select “Formyoula File” from the available Salesforce Object list and click “Save”.

12. Please map the form fields to the Formyoula File object’s fields in Salesforce.

[Optional] In case if you are creating a new Document record, please map the hidden field from your form to the Library/Folder ID field in Salesforce.

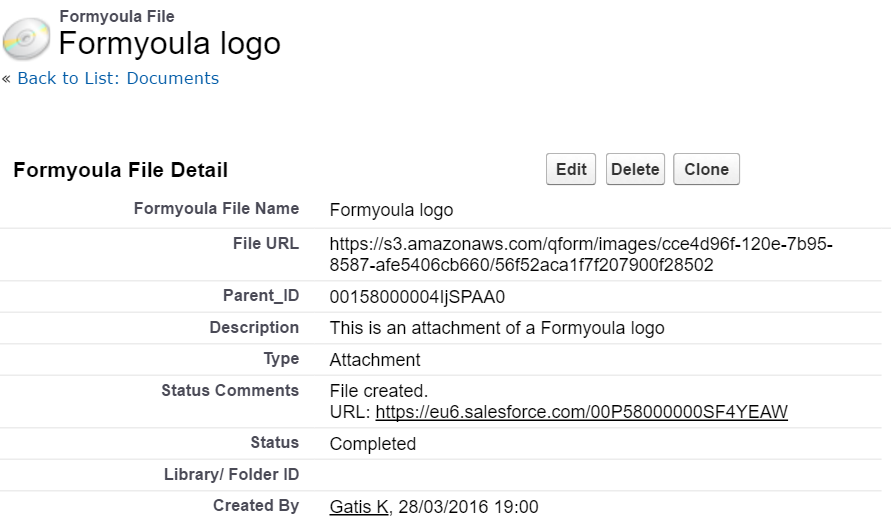
13. A Formyoula File record will be created on your Salesforce when a new Formyoula form entry is submitted. The Formyoula File record will have all the captured information from your form and a link to the file. Salesforce will process the new Formyoula File record and create a file based on your selected file type. Please see below examples.
Formyoula File record created with the Type as “Attachment” and the media file is also stored on the Parent record’s “Notes & Attachments” related list.

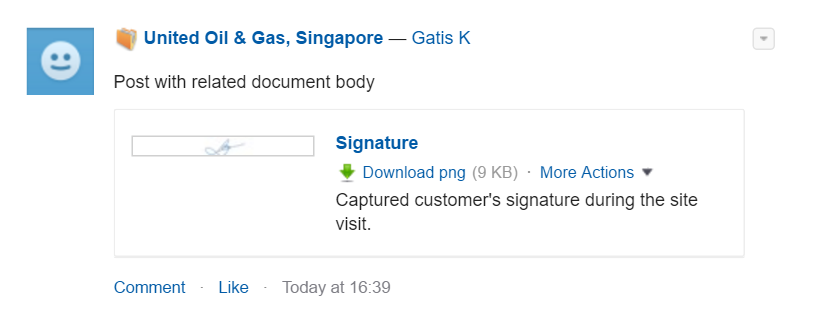
Formyoula File record created with the Type as “Chatter File” and a new chatter post was submitted with an attached signature file.
If you have any questions, please email us at support@formyoula.com