Create Salesforce Quotes and Quote Line Items (Products) with an offline form
In this guide we will demonstrate how to create a new Quote record that is linked to a an existing Opportunity record and assigned to an existing Contact record in Salesforce with a Formyoula mobile form. This mobile form can be completed while the mobile device is offline and the new record will be created on Salesforce once the device regains internet connection. Both Salesforce and non-Salesforce users can complete Formyoula mobile forms and the new records will be created on Salesforce. You can create any number of records on standard or custom object with a single Formyoula mobile form. Child record creation is supported using repeat group elements.
1. Go to Formyoula.com and click “Sign In”.

2. Click “New Form”.

3. Click “Rename” to give your new form a name.

4. Forms can have multiple pages. We will leave one with the standard name “Details”.

5. Drag and drop two Salesforce Lookup field on your form.
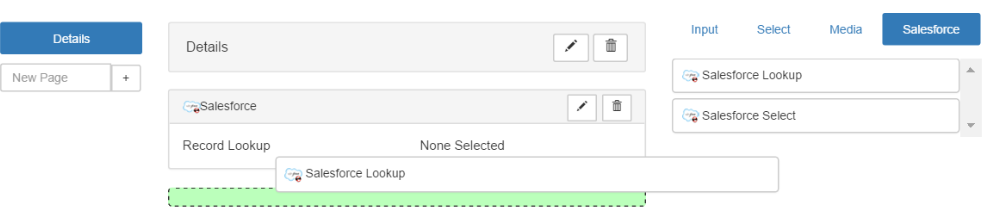
6. Click on the “pencil” icon to edit the fields.

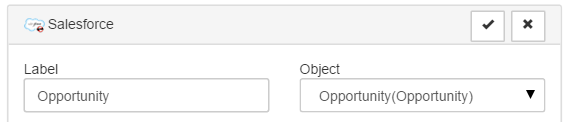
7. We will use the first lookup field to link the Quote record to an existing Opportunity record in Salesforce.
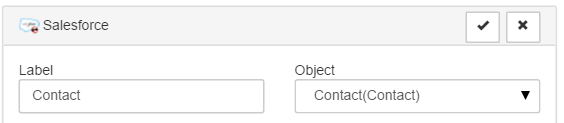
8. We will use the second lookup field to assign the Quote record to an existing Contact record in Salesforce
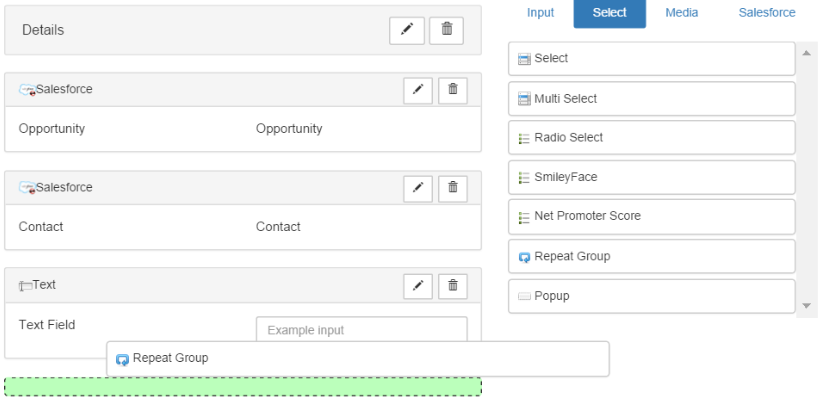
9. Drag and drop as many fields as you need for your new Quote record.

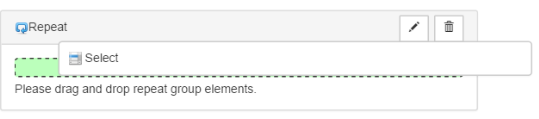
10. Drag and drop a Repeat Group field on your form. Edit the field and change the label. This will be used to add multiple Products for your Quote record.
11. Drag and drop a Select field inside the Repeat Group field. Click on the “pencil” icon to edit the Select field.
12. Change the label and input Product names in the Select Options list.

13. Now go to your Salesforce profile. Find the exact products which ones you will use in the Select field list. And click on the “View” button next to the correct Price Book, from which you will use the Product.

14. Now please copy the Product ID from the URL, when on the exact Product record page.

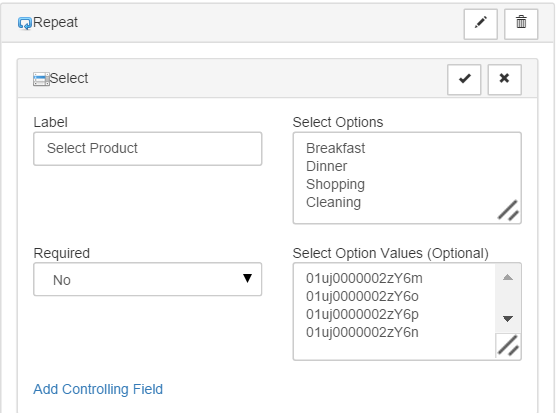
15. Paste the ID in the Select field “Select Option Values” box. Please make sure to paste the ID in the correct row, so it matches the Product name.
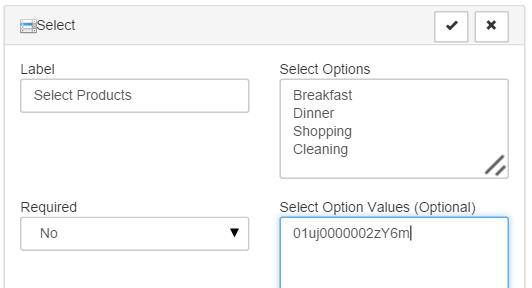
16. Copy and paste all the Product IDs you are using for the Select field.
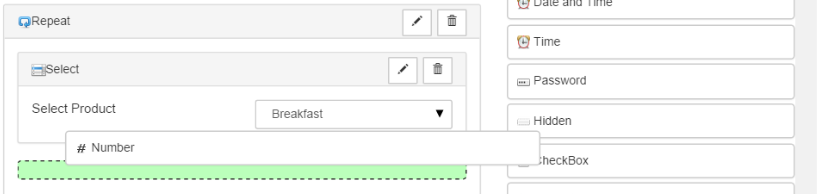
17. Drag and drop other fields inside the repeat Group field. In this case we will use a Number field to set the quantity for the selected Product.
18. Now drag and drop a Hidden field on your form.

19. Go to your Salesforce profile, find the Price Book you are using the Products from and copy the Price Book ID from the URL.

20. Click on the “pencil” icon to edit the Hidden field. Change the label and paste in the Price Book ID.

21. Click “Save & Close” to save your form.

22. Click on “(Add)” under the “Connections” column or click on the “Create a Connection” button or select “Add/Edit Connections” from the “Actions” available list.

23. Select “Salesforce” from the available connections list and click “Create Connection >>”.

24. First create the “Quote” connection. Select “Quote” from the available Salesforce Object list and click “Save”.

25. Set the “Insert Sequence” as “1”. This will ensure to create the new Quote record before we add Products.

26. Click “Save Record Settings” when done.

27. In this connection we will map the Opportunity lookup to the Opportunity ID. Select the matching fields in both mapping sections and click “Create Map”.

28. The Contact Lookup to the Contact ID.

29. The text field “Quote Name” to the “Quote Name”.

30. And the hidden field “Catalog 1” to the Price Book ID.

31. When done, click on the “<< Back to Connections” button.

32. Select “Salesforce” from the available connections list and click “Create Connection >>”.
33. Select “Quote Line Item” from the available Salesforce Object list and click “Save”. This connection will be used to add Products to our new Quote record.

34. Set the “Insert Sequence” as “2”. This will ensure to add the Products after the Quote record is created.
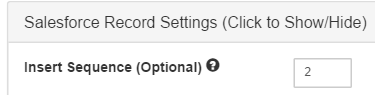
35. Select the Repeat Group field, in this case we named the field as “Product”, from the “Use Repeat Group” list. This will ensure to add as many Products for the Quote record as you need.

36. Click “Save Record Settings” when done.
37. Map the Formyoula “[New Quote] (Seq 1)]” field to the Salesforce “Quote ID” field. This will ensure to add the products to the new Quote record.

38. Map the Select field “Select Product” to the “Price Book Entry ID”.

39. And the Number field “Quantity” to the “Quantity”.

40. When done, go to your Formyoula dashboard.

41. Click on the “Try” button next to the form. This will open the mobile web app.

42. Select the newly created form.

43. Fill in the form. Press on the “Find” button to search for existing Opportunity records on Salesforce.

44. Select the Opportunity.

45. Search and add an existing Contact records. Fill in the rest of the fields.
46. Click on the “Add Products” button to add Products, and the Quantity. When done click on the green button “Add”. You can add as many Repeat Groups as you need.

47. Fill in and submit the form when done.

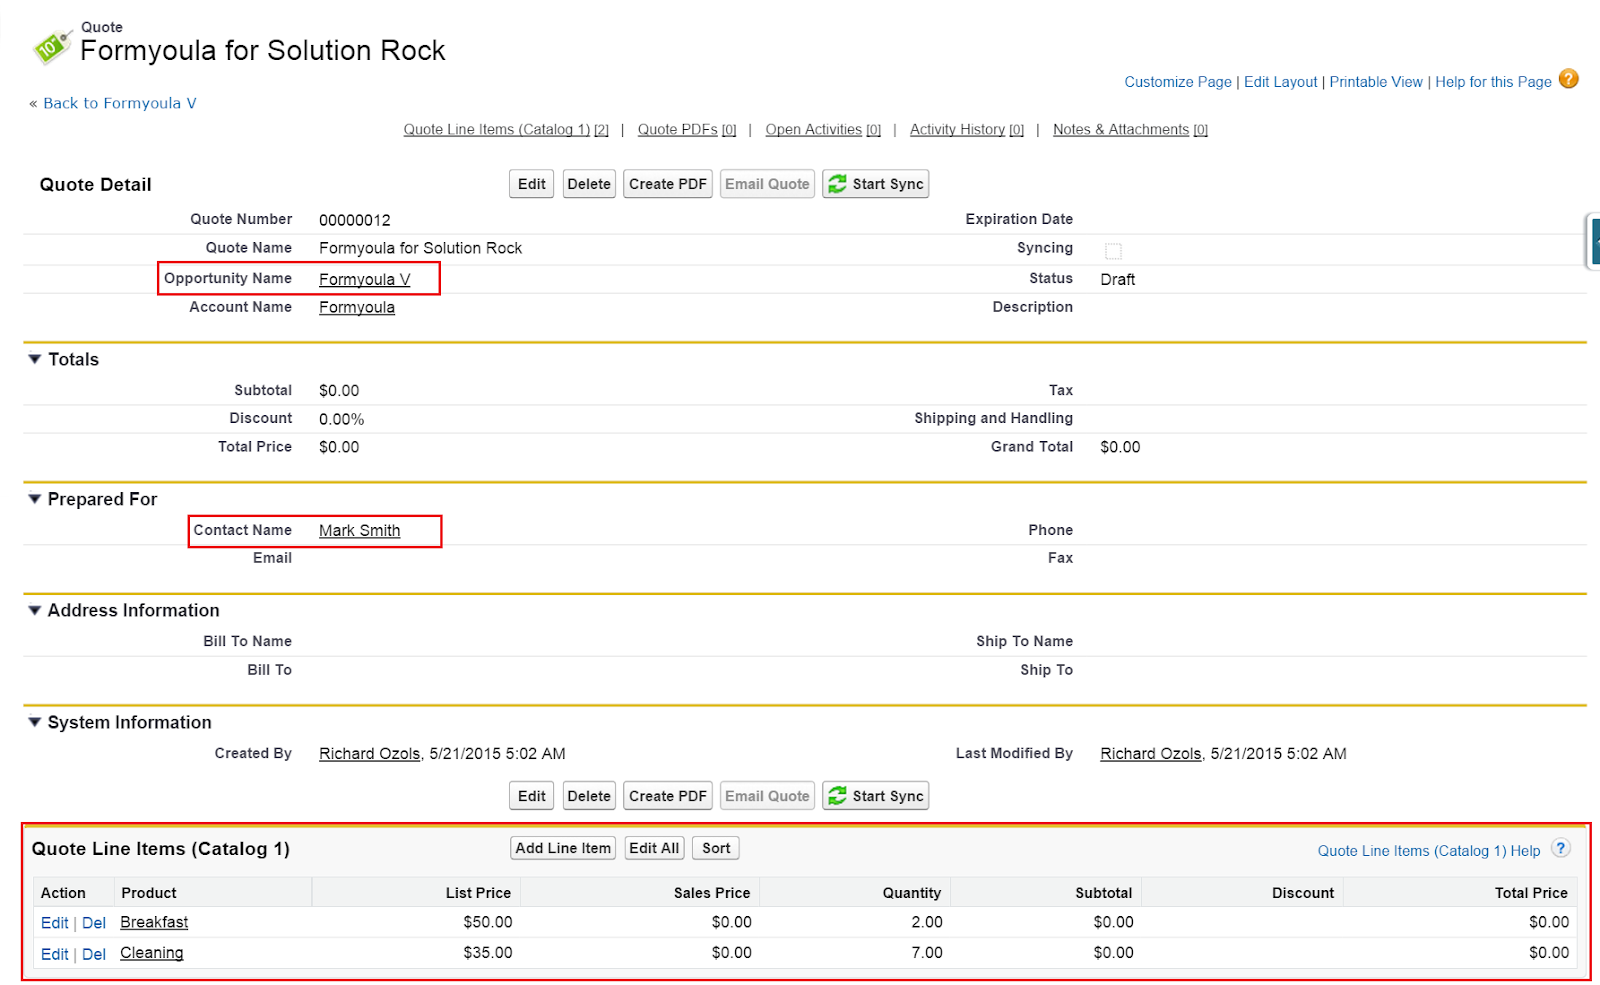
48. Now, on Salesforce you will be able to see the new Quote record that is linked to an existing Opportunity record and assigned to an existing Contact record.
For any questions please contact us - support@formyoula.com.